Every mark belongs to a layer for that particular sheet. Use separate layers for personal reminders, conductor notes, breath marks, or another purpose, then show only the layers you need. You can also share one of your layers with the choir, selected voice groups, or individual members.
If you have not added markings yet, start with Annotating Sheet Music.
Saving and sharing annotation layers requires access to the sheet music annotation feature. Access may be included through your choir or an individual Premium subscription. During a release preview, it may also be available without Premium.
Without access, shared layers cannot be shown and work created during the 20-second annotation preview is not saved.
Open and Manage Layers
- 1
Open the layer panel
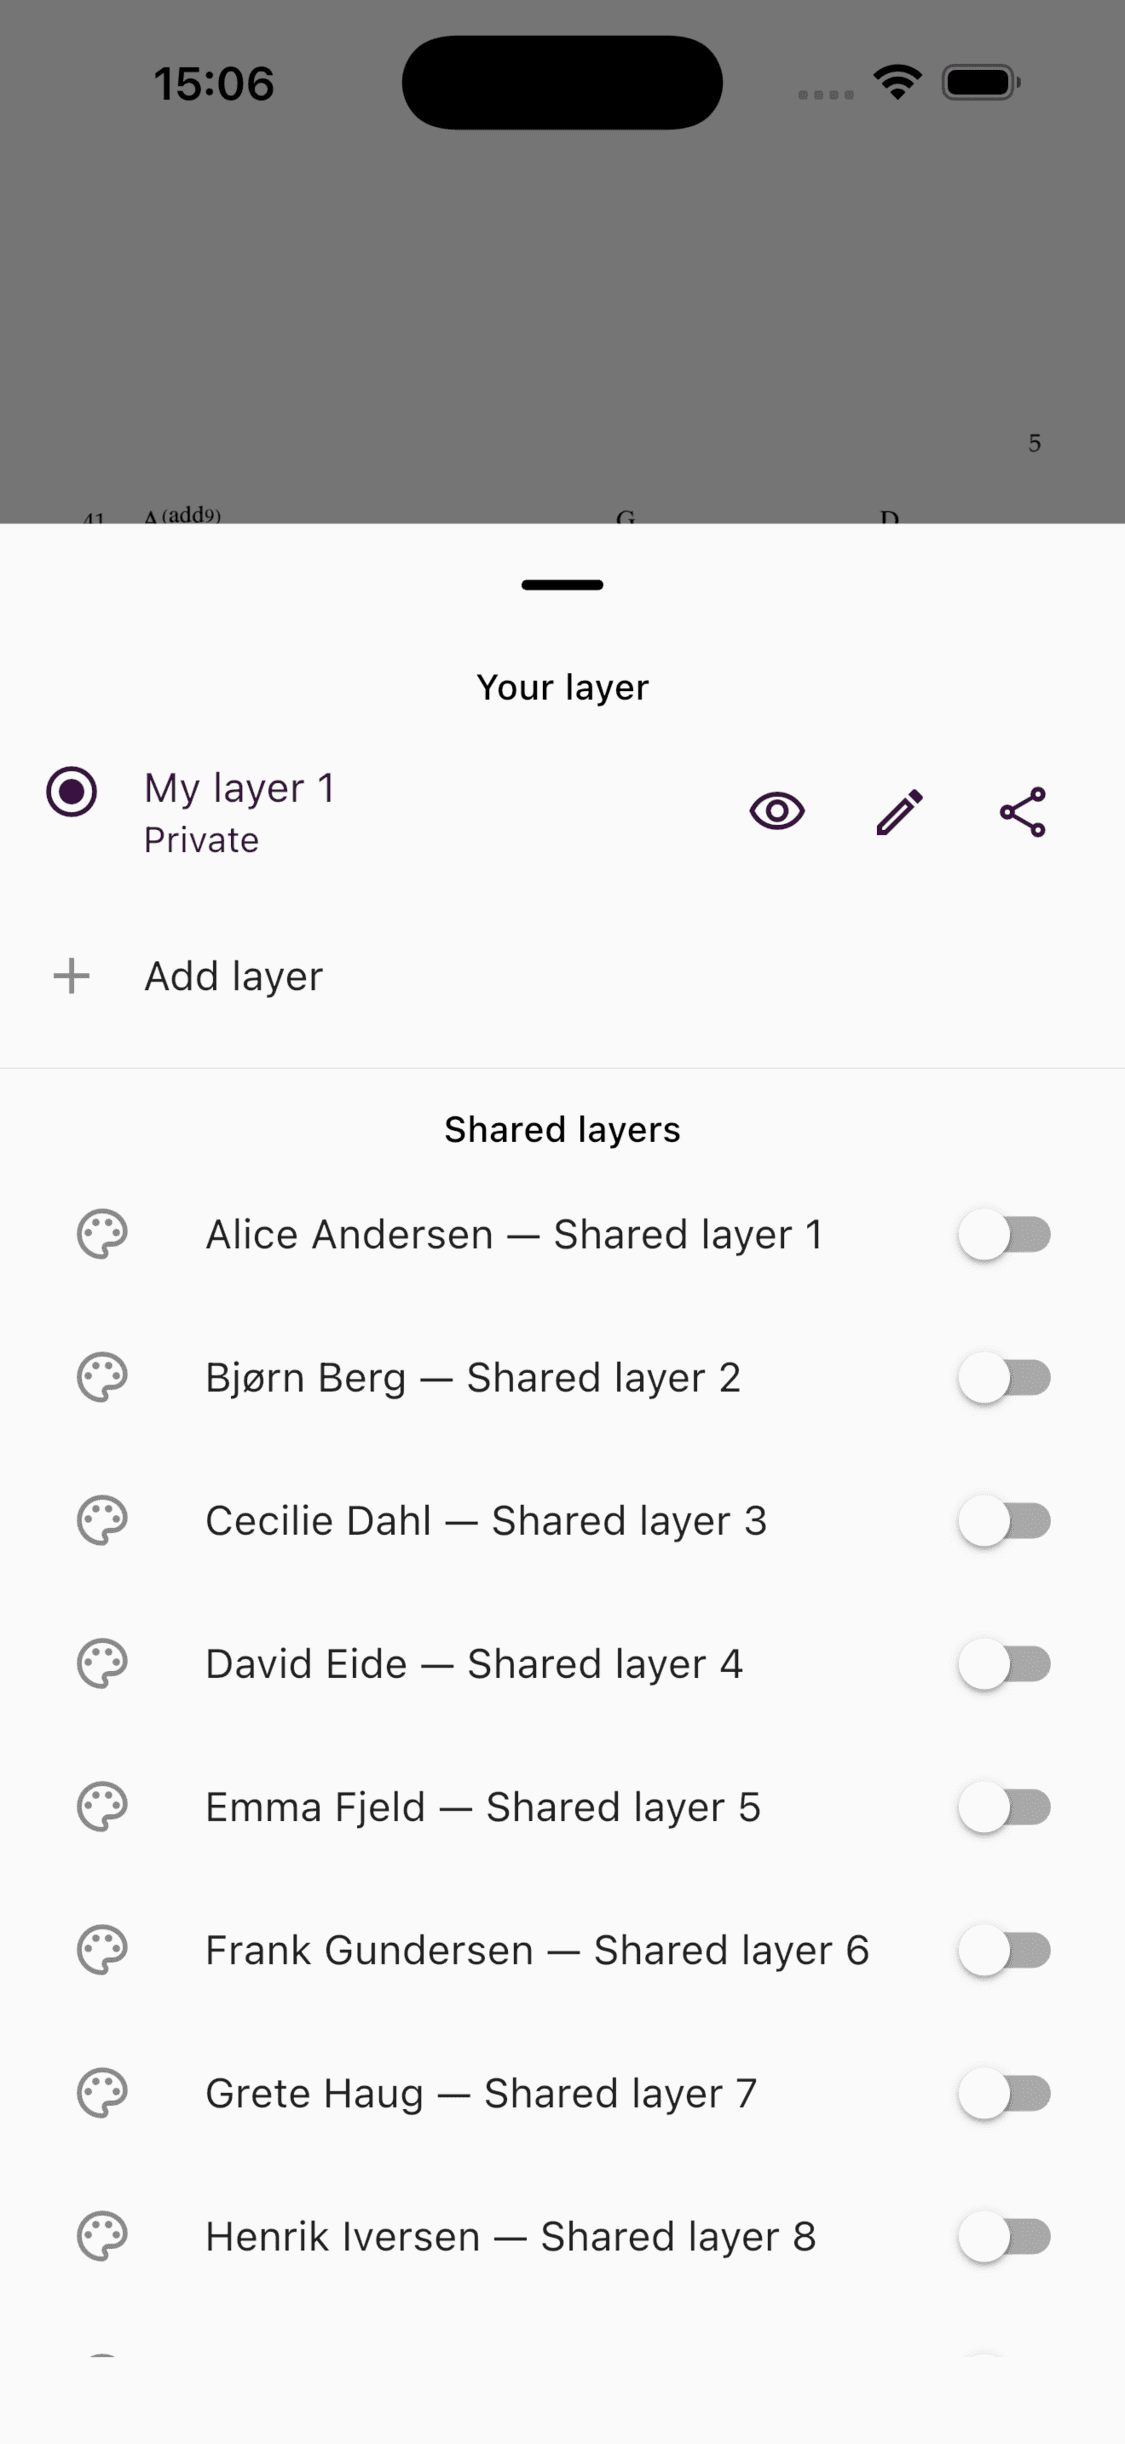
Show the sheet viewer controls and tap the Layers button. You can also open Tools and choose Layers.
- 2
Choose your active layer
Tap one of your layers to make it active. New annotations are added to the active layer. Use Add layer when you want to keep another set of markings separate.
- 3
Share one of your layers
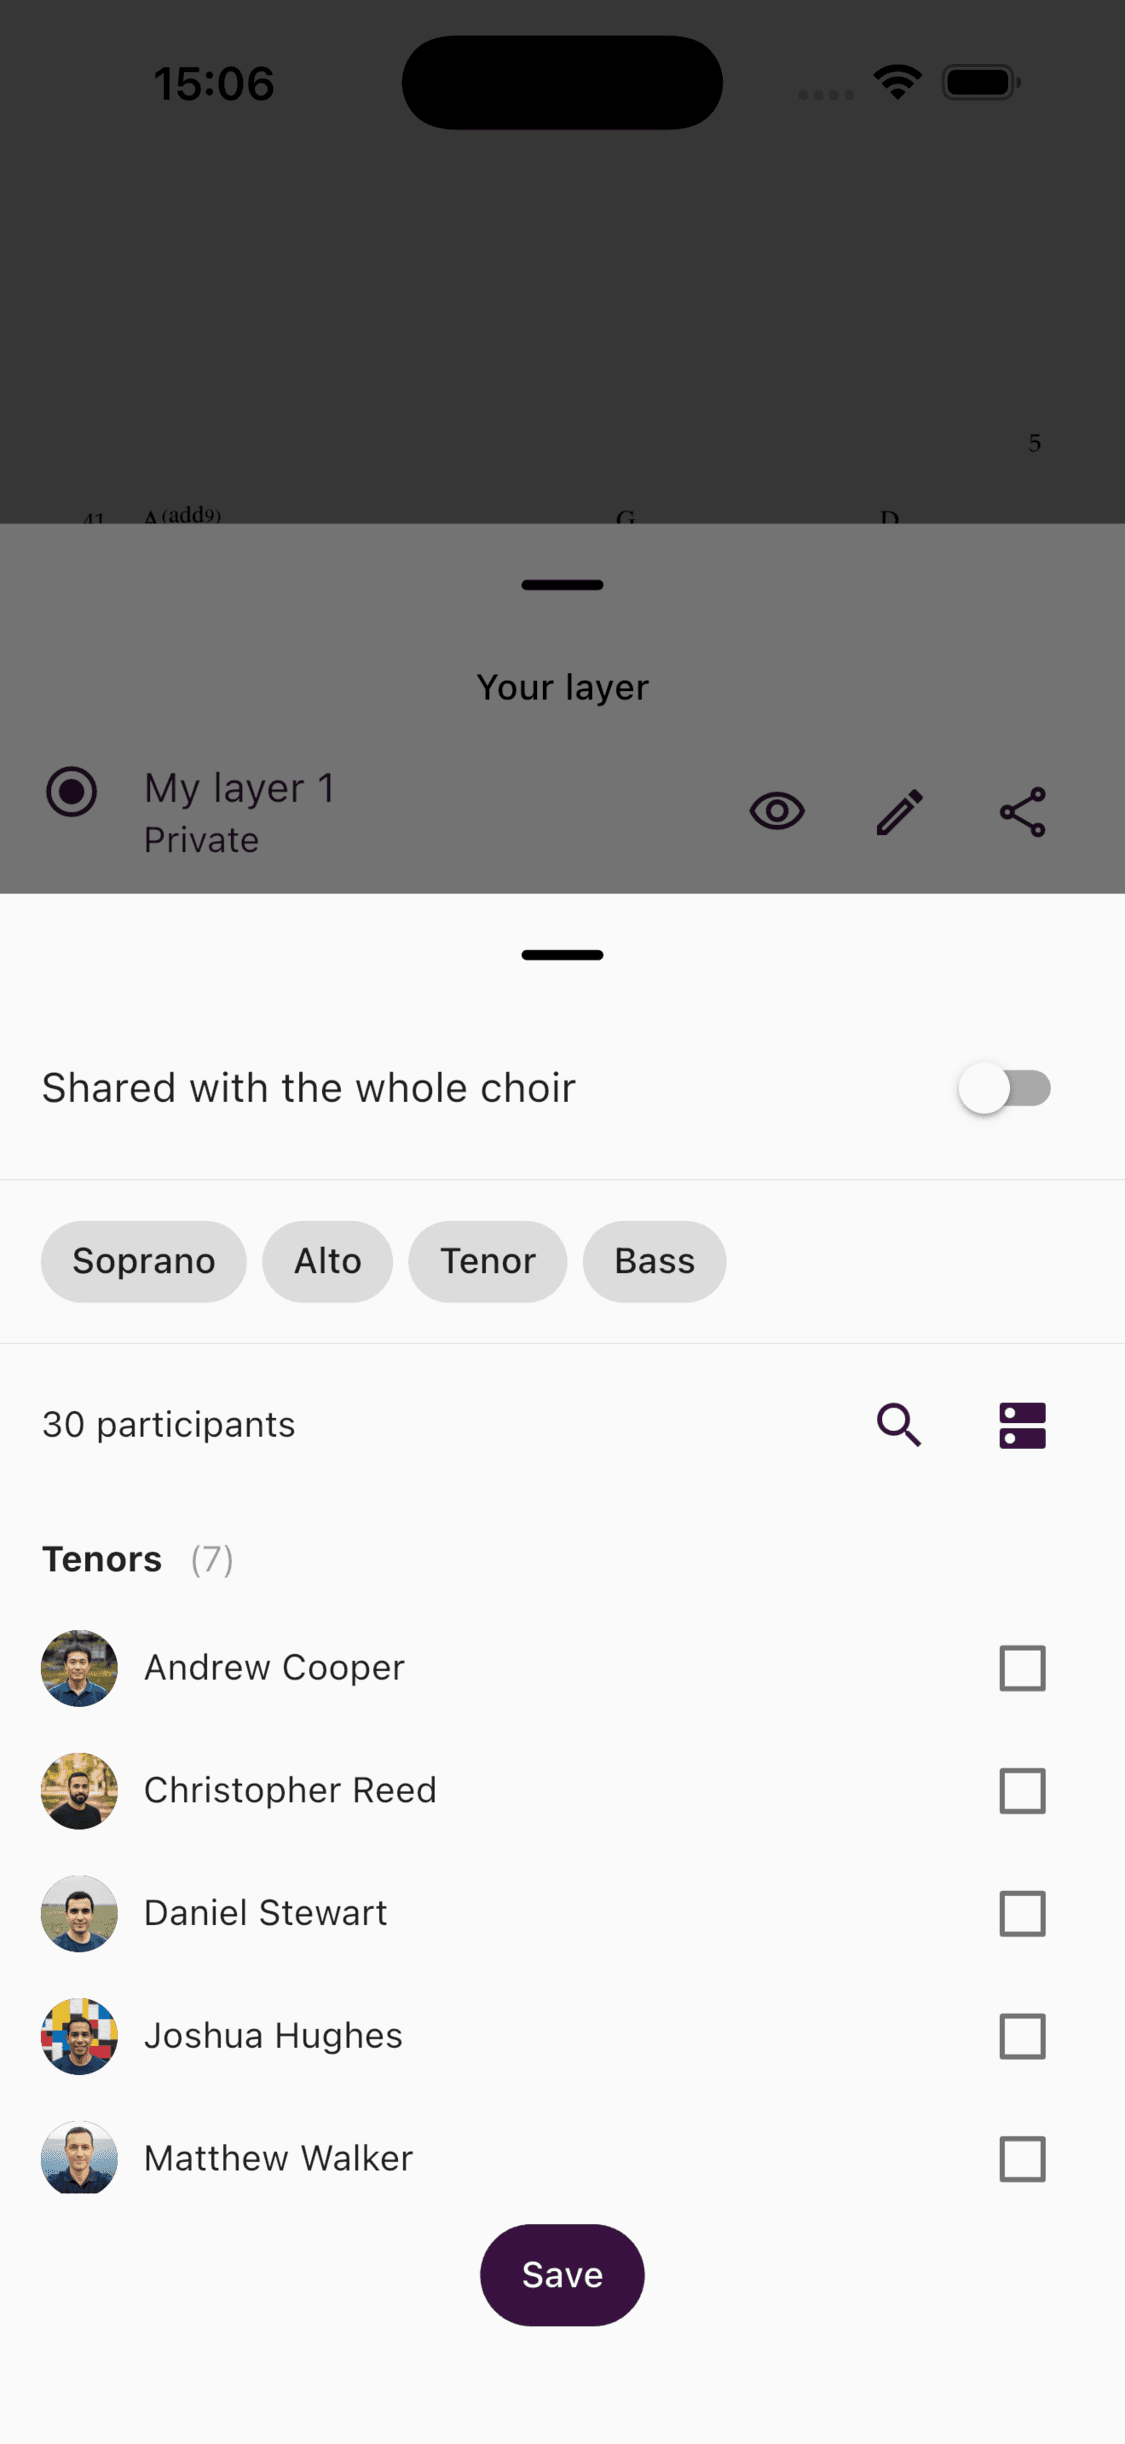
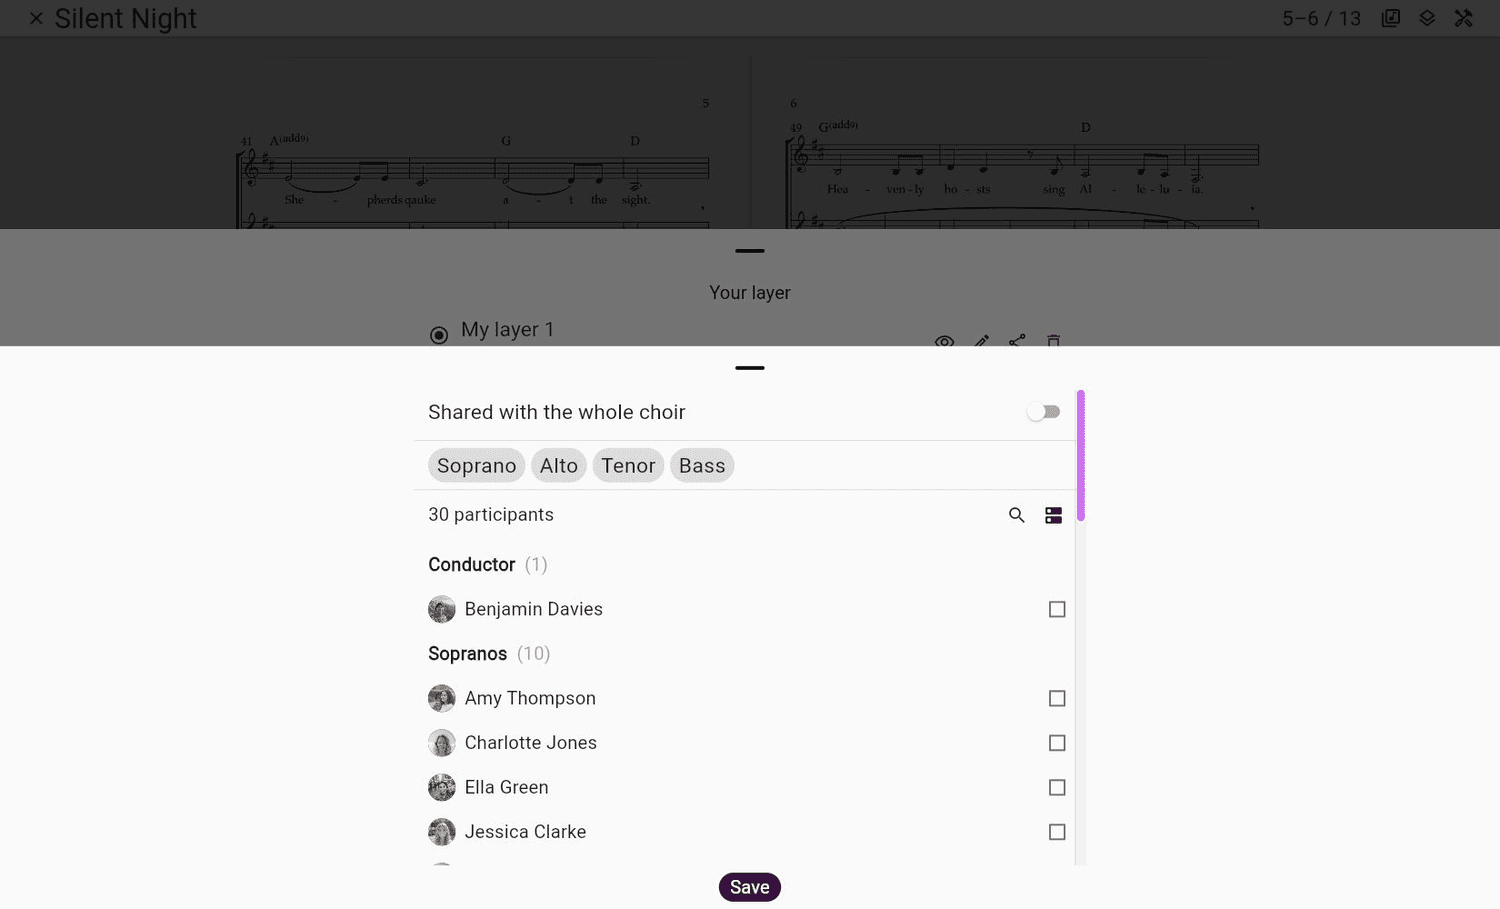
Tap the share button beside your layer. Share it with the whole choir, or choose one or more voice groups and individual members. Tap Save when the selection is ready.
- 4
Show a layer shared with you
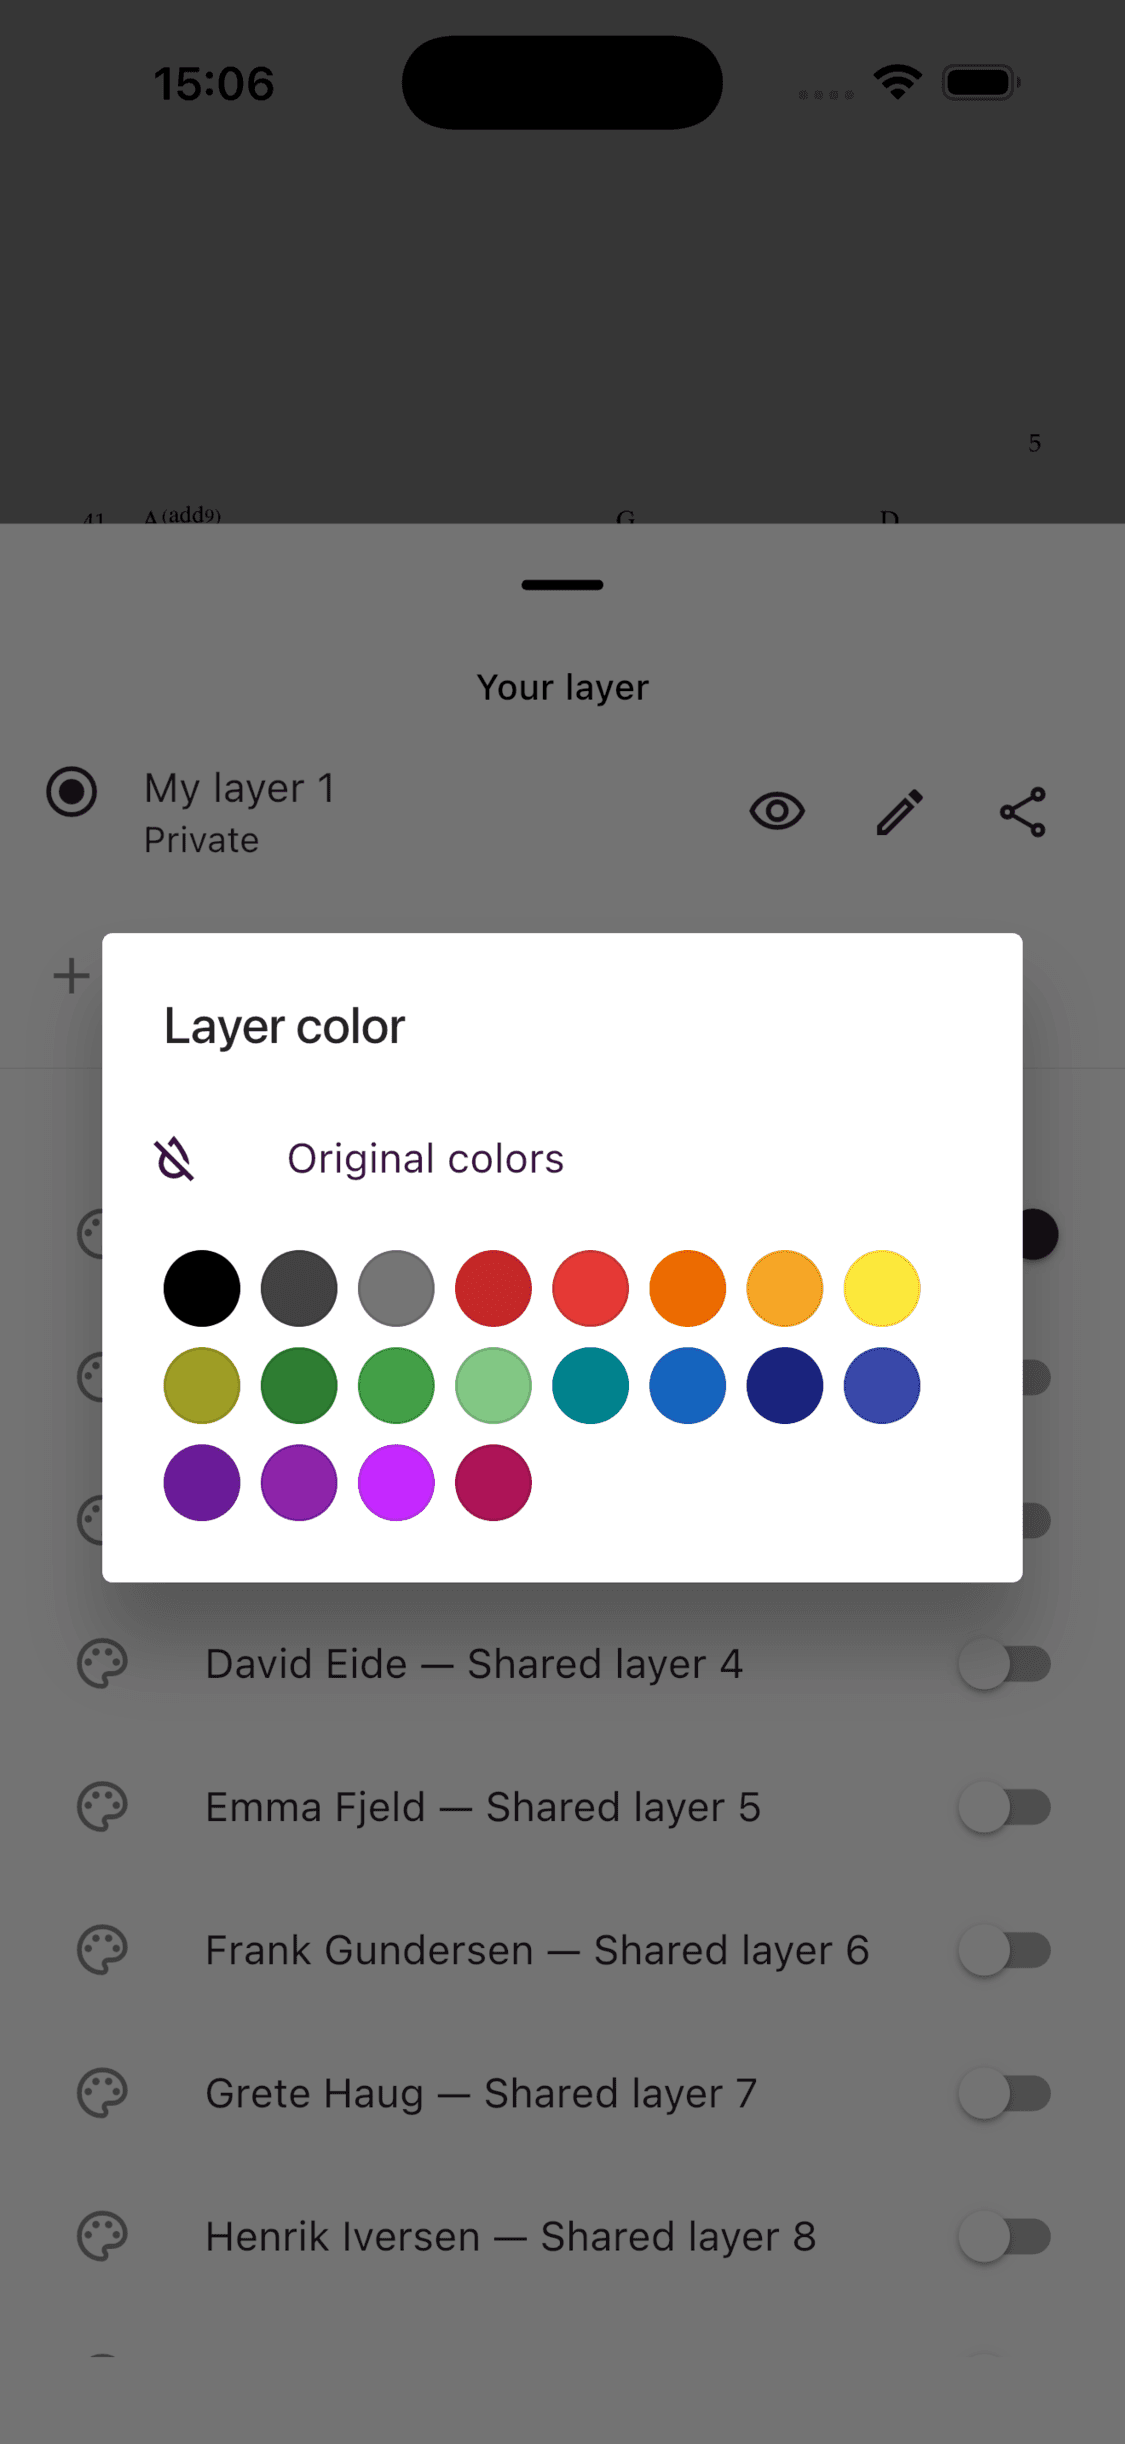
Turn on a layer under Shared layers. Tap its palette button if you want all its markings to use a different colour on your screen.
- 1
Open the layer panel
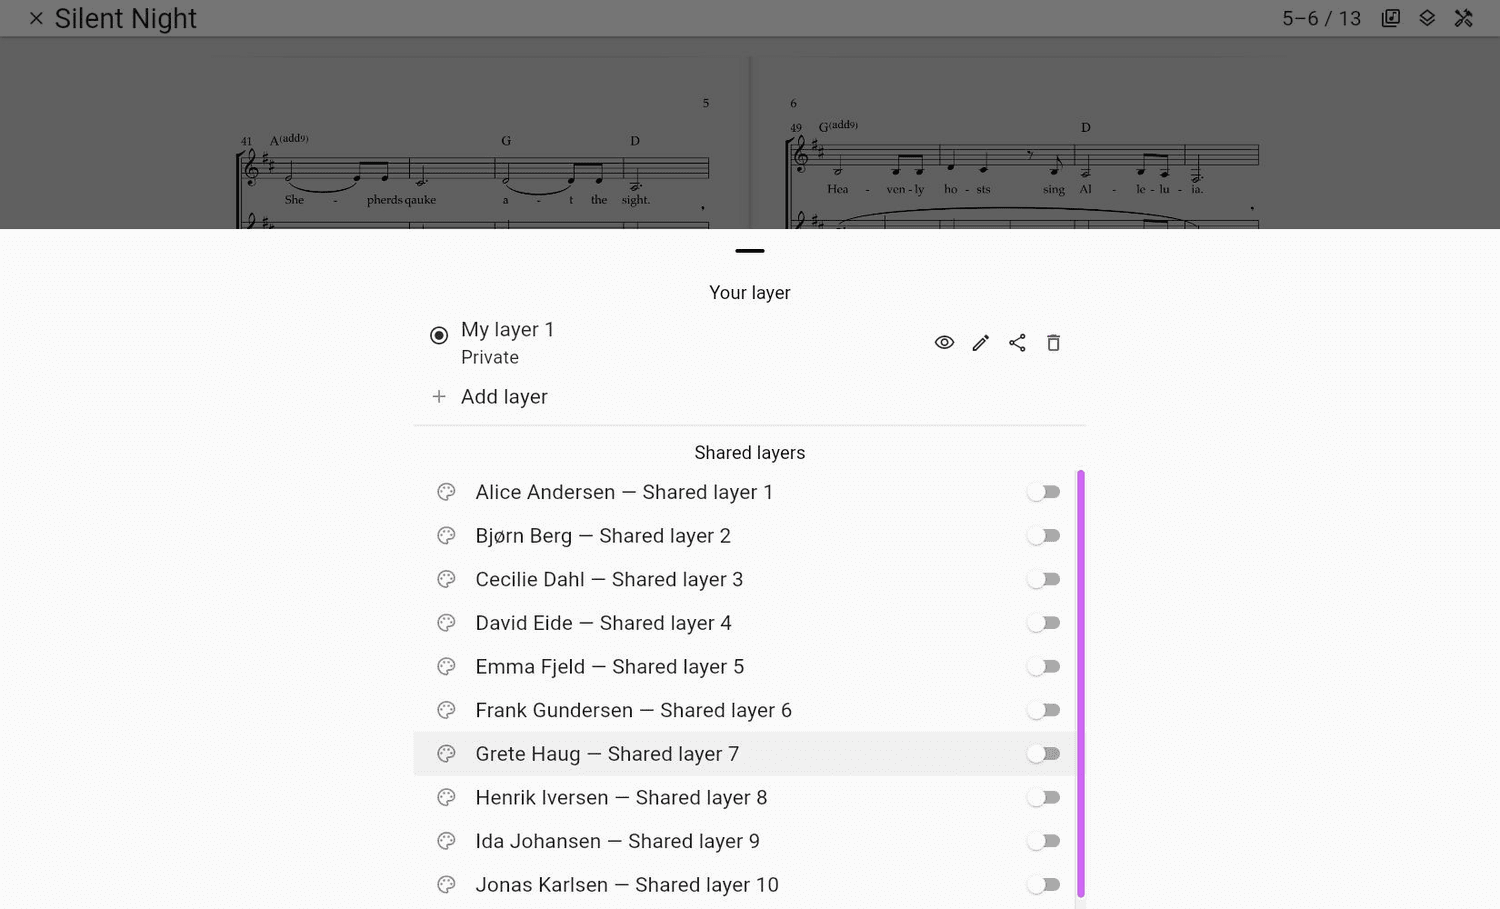
Show the sheet viewer controls and select Layers, either from the top bar or the tools menu.
- 2
Share one of your layers
Select the share button beside your layer. Choose the whole choir, or select voice groups and individual members, then save your choice.
- 3
Choose what you want to see
Select your active layer, hide any of your own layers you do not need, and turn shared layers on or off from the same panel.
Work With Your Own Layers
You can keep up to three of your own layers on each sheet. The selected radio button marks the active layer. When you start or continue annotating, new marks go there.
The eye button changes visibility without deleting anything. The edit button lets you rename the layer. On the app, swipe a layer to delete it when you are outside annotation mode. On the web, use the visible delete button.
Tip
Give layers names that explain their purpose, such as Personal notes, Conductor notes, or Breaths. A clear name is especially helpful before sharing.
Choose Who Can See a Layer
New layers are private. When sharing, you can choose either:
- the whole choir; or
- one or more voice groups, individual members, or both.
Only people included by the current sharing choice can receive the layer. Change the choice later if the intended audience changes. Sharing a layer gives recipients a read-only view of its markings. It does not let them edit your layer.
Use Layers Shared With You
Shared layers stay off until you choose to show them, except a layer shared by a choir owner may be shown automatically the first time you receive it. You can display up to three shared layers at once.
Changing a shared layer's display colour affects only your view. It does not edit the original markings or change what anyone else sees. ChoirMate remembers your visibility and colour choices for that sheet on the device.
Info
If a fourth shared layer will not turn on, hide one of the three visible shared layers first.