If you will manage a choir that is not yet on ChoirMate, you can create it from the app. You become the choir owner and can invite everyone else after the setup is complete.
Info
If your choir already uses ChoirMate, join through its invitation instead. Creating the choir again would make a separate group.
Before You Start
You need a verified ChoirMate account. This guide follows the usual path for a new user who does not belong to any choir yet.
Create Your Choir
- 1
Open Add choir
After signing in, tap Add choir in the bottom menu. If ChoirMate first asks what you want to do, choose Create my choir in ChoirMate.
- 2
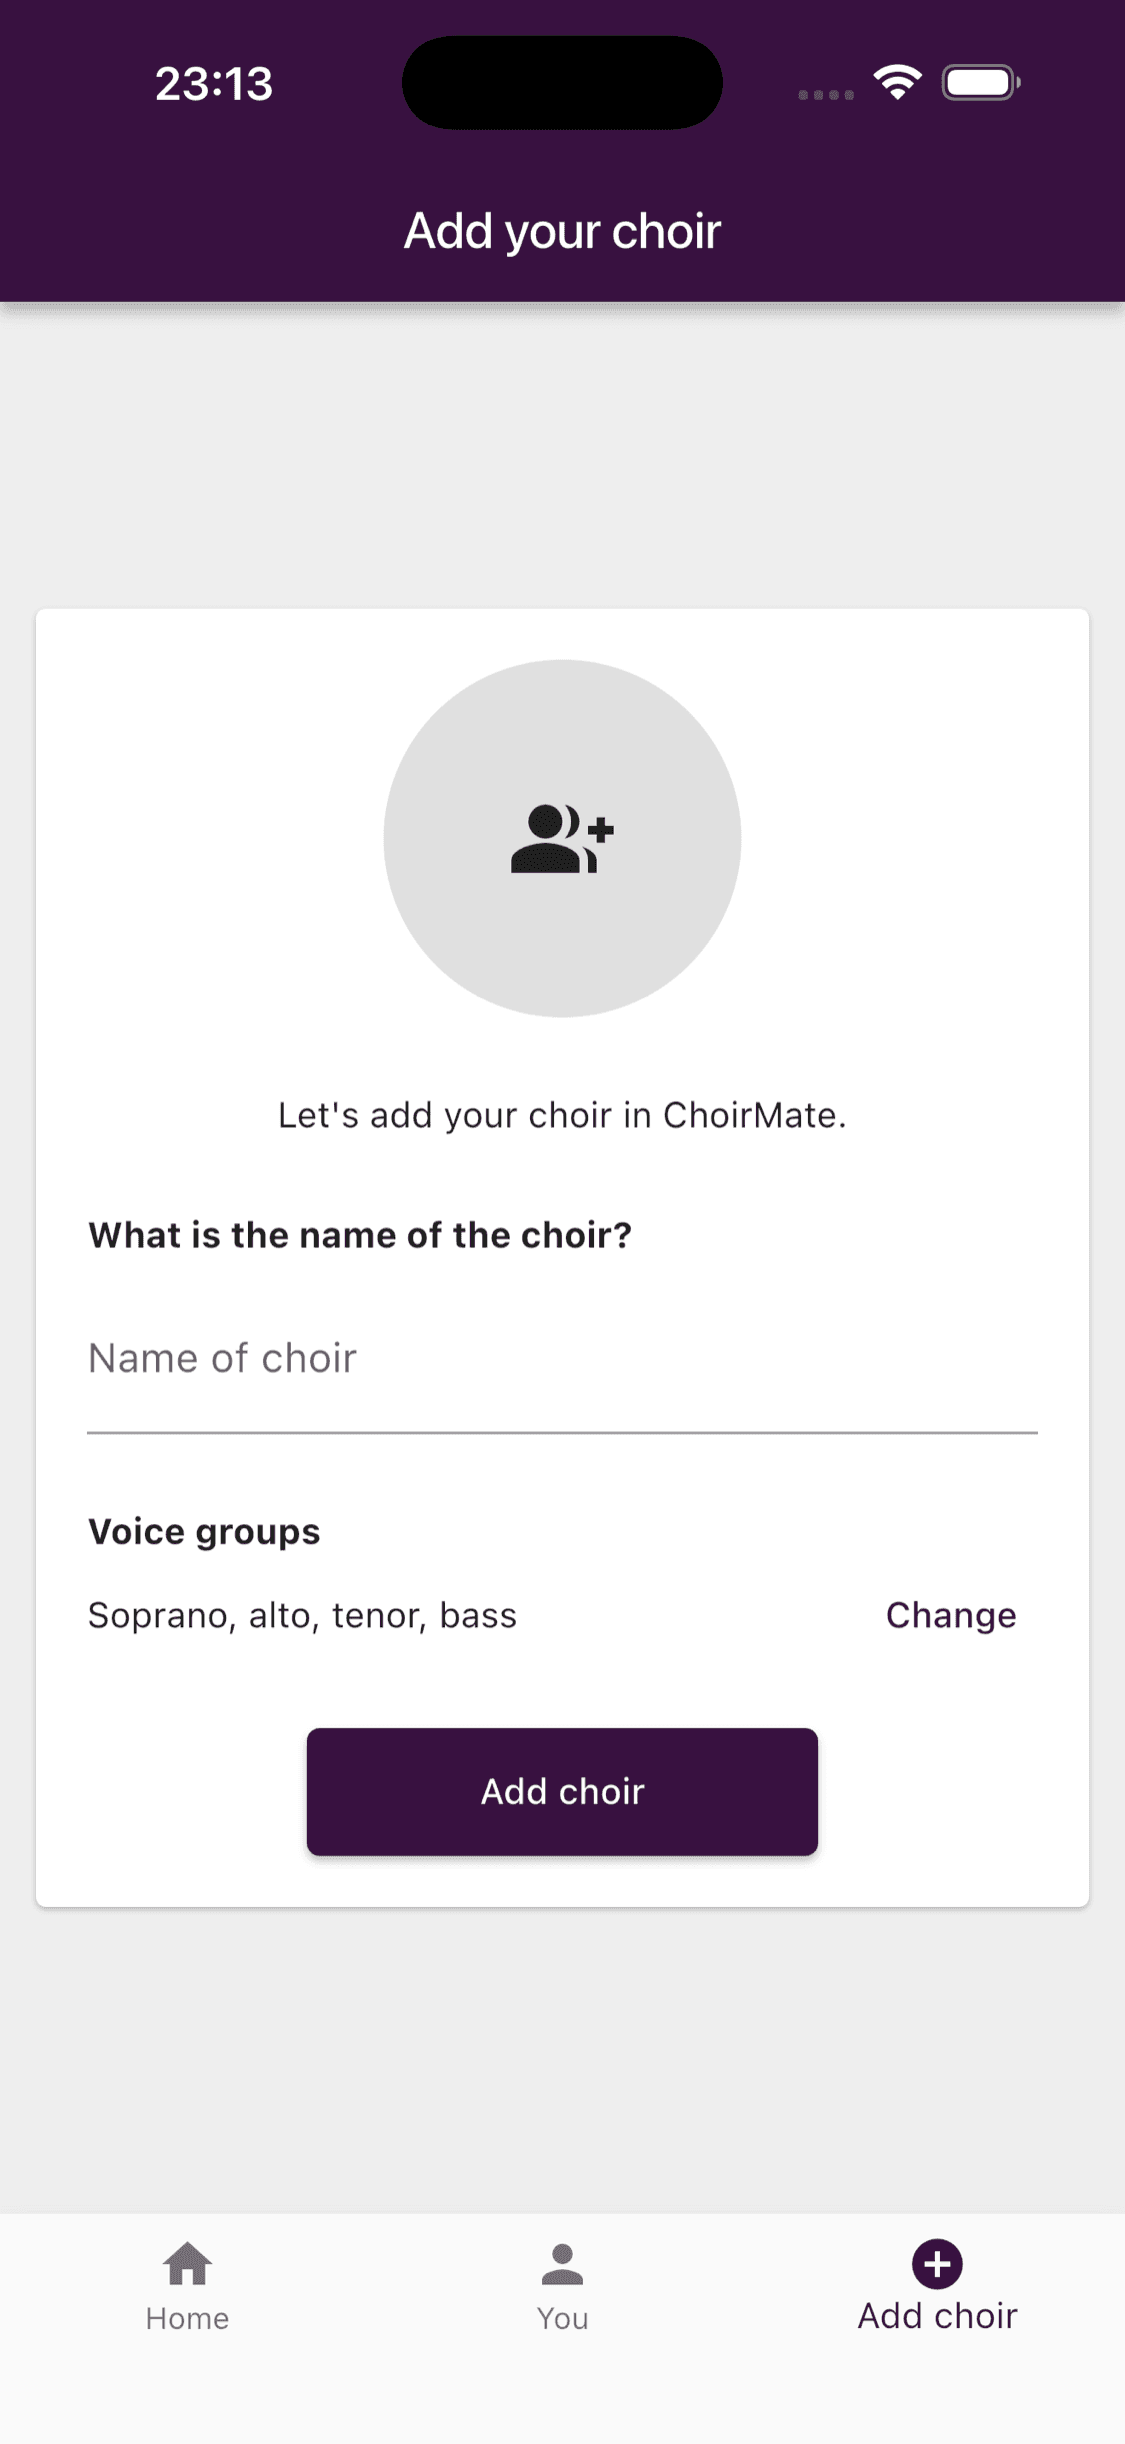
Enter the choir name and voice groups
Enter the name that members should see. ChoirMate starts with soprano, alto, tenor, and bass. Tap Change if your choir uses different voice groups.
Once you enter a name, the rest of the setup form appears.
- 3
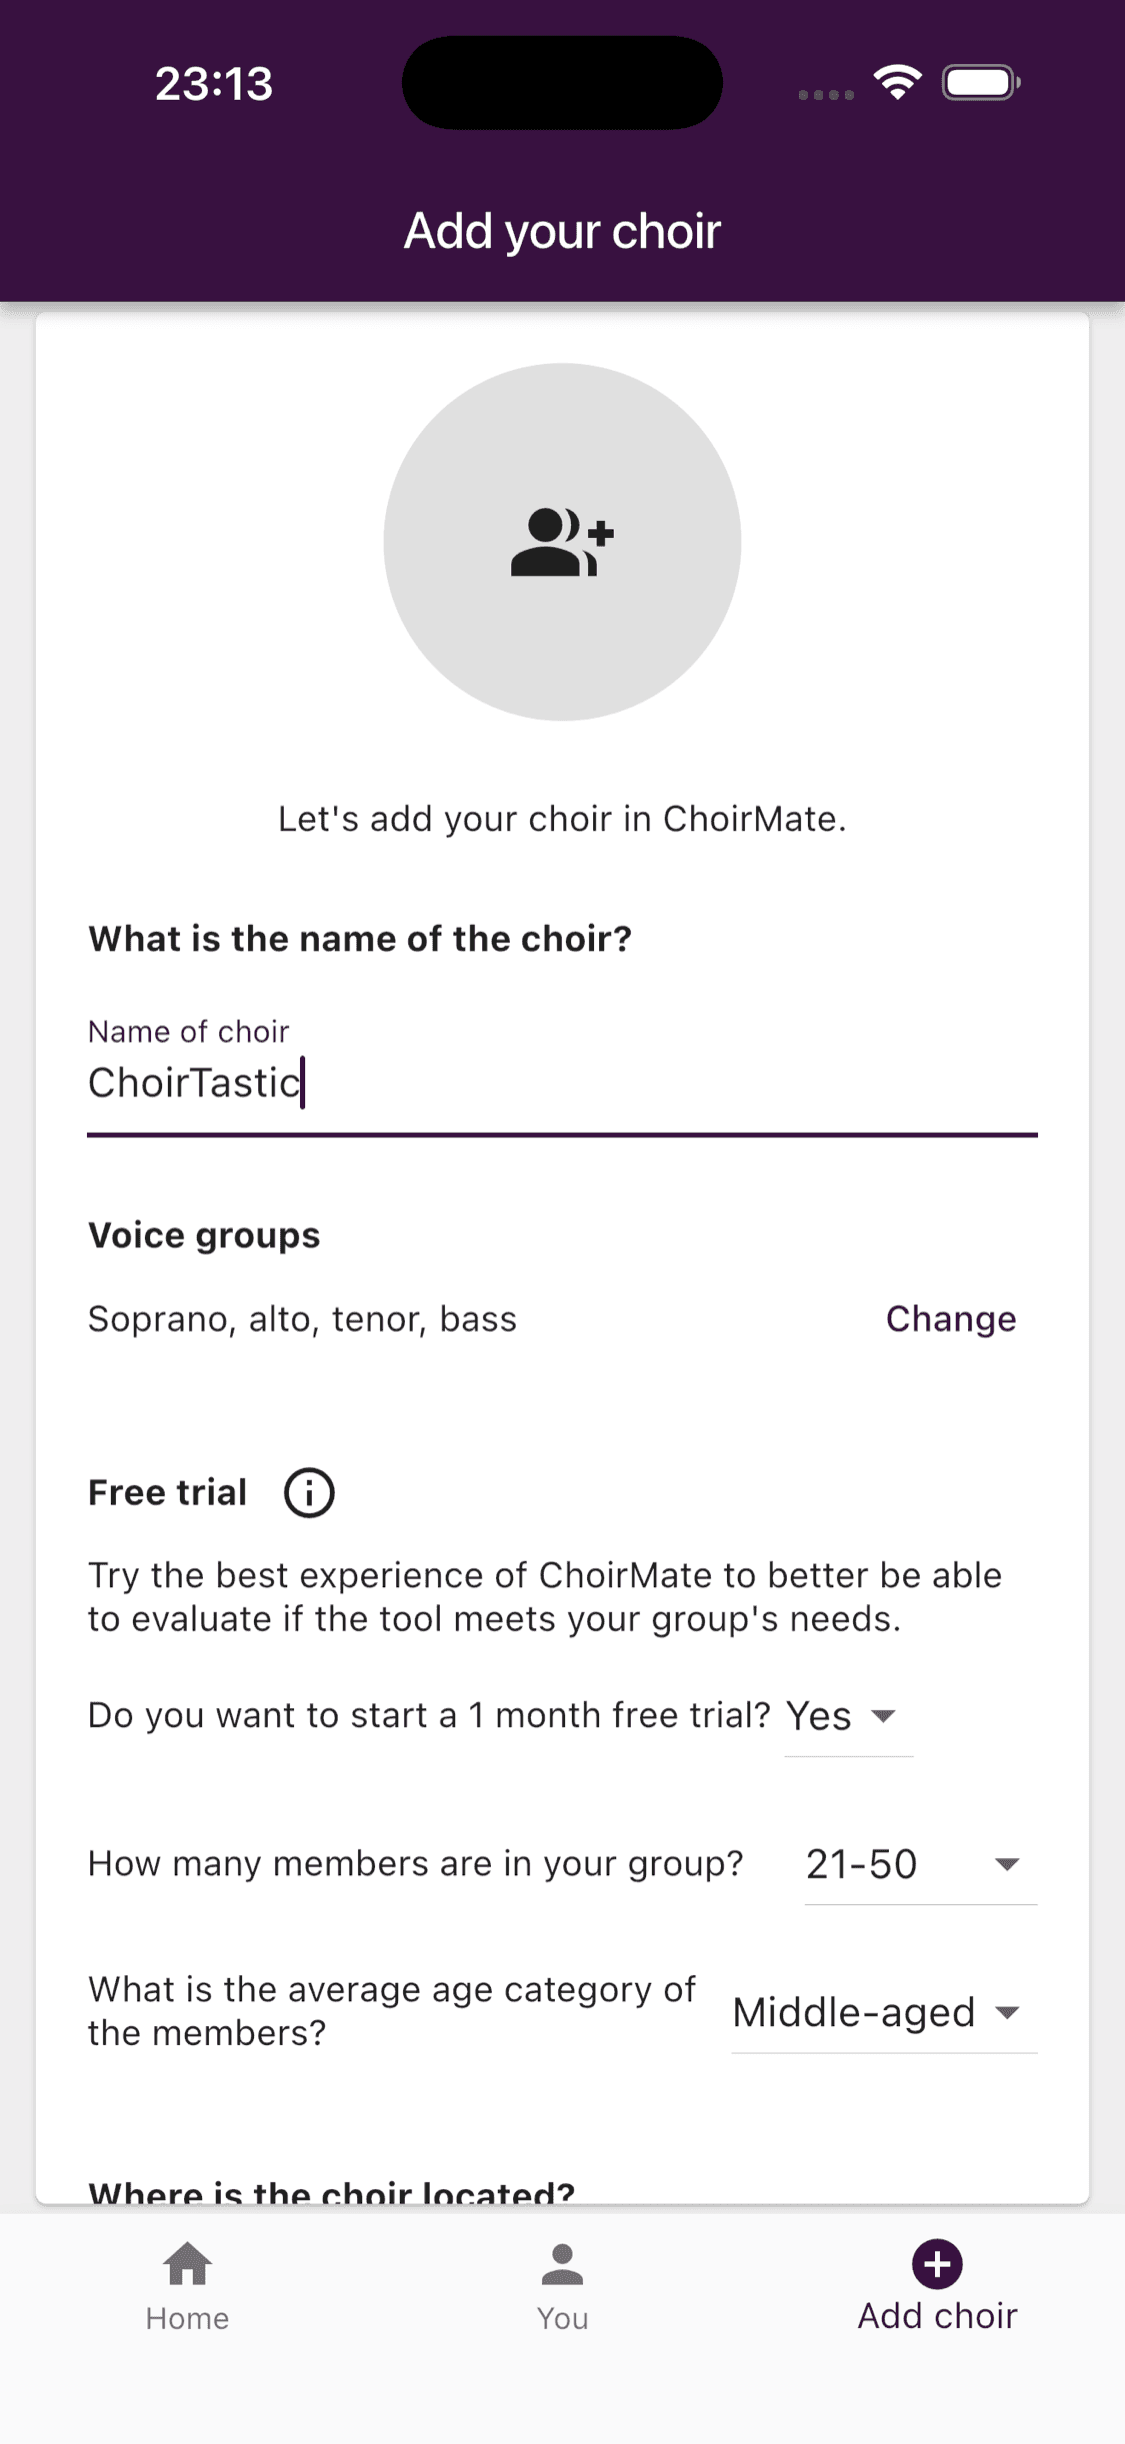
Choose the trial and choir details
Choose whether to start the free group trial. If you select Yes, choose the range that best matches the number of members. Then select the choir's average age category.
- 4
Add the location and your position
Add the city or nearest town, then choose your position in the choir. You can also tell ChoirMate how you heard about the service, but this is optional.
- 5
Create the choir
Review the form and tap Add choir. ChoirMate creates the group, makes you its owner, and opens the new choir.
Choosing Voice Groups and Your Position
The voice groups become the choir's initial section setup. Choose the structure your choir actually uses. You can update it later in the choir settings.
For your own position, choose the voice group you sing in, Conductor or administrative role, or Other, as appropriate.
Trial and Free Product
The form shows the current trial length. Starting the trial gives the choir temporary access to the included paid features. ChoirMate does not ask for payment details during this setup.
If you choose No, the choir starts with the free product. You can change the subscription later. See subscription plans for current features and prices.
What to Do Next
Once the choir is ready:
- Invite members with the choir's link, code, or QR code.
- Add songs that members should practise.
- Create an event for the next rehearsal or concert.